
Have you been annoyed with all the emails that you receive such as newsletters from different sites? Do you feel uncomfortable sharing your email with someone you’ve just met? Do you need access to a site just for a short span?
Well, you have come to the proper place! Before we get into the technical aspect let’s talk about YOP mail.
What is Yopmail? Yopmail is one of those disposable email service providers. Yes, you’ve read it correctly! It’s disposable.
Why use it? Well, why not use it for everything!
It simply protects your identity across the web
It has been a new practice where you need to verify email just to access the service the provider provides. Earlier you could have registered with a friend’s email(whom you hate!) and accessed the site and let them deal with the spam messages. Lol! However, now you’ve to verify the email first to access the site or any other services. So, with a disposable email, you could just simply enter any email address ending in ‘yopmail.com’ and check the email for the OTP sent by the site you want to enter. Search for the OTP message in the inbox and enter it on the site. Vola! No more spam on your email!
It doesn’t require a password
With Yopmail, you don’t need to log in using the mail account or provide any other information. Instead, you can just create it and access it without any password.
Email alias feature
Just like we have mentioned above, Yopmail doesn’t require a password to access the inbox mails. However, the security of the emails you receive is assured with a feature called mail alias. Yopmail will be generated upon creating your Yopmail account.
You can then use the aforesaid Yopmail alias without using your real email ID. So, if someone else is using your email ID and accesses the inbox, nothing will be shown to them.
Automatic deletion of emails
With Yopmail, your emails will be kept only for a predefined time. The emails you receive on the Yopmail inbox will be kept only for eight days. The system will delete the emails after that period.
Yopmail allows you to forward mails to another email account conveniently
This option becomes very handy, especially if the email account has some specific information. For instance, it becomes handy when usernames, passwords, or security questions are available in the received email. With many of the other disposable emails, you don’t get the option of forwarding the emails. If you get usernames or other critical information on such an email account, the information will be lost. So, if you prefer keeping the information, the forwarding option becomes very handy.
Websites sell their users’ email addresses to third parties for advertising and various other purposes.
But! Why is there a but in everything?
The but in this case are:
You should remember is that Yopmail (and other disposable email accounts) are not protected.
In other words, emails that come under the aforesaid account number can be accessed by other users. This problem can’t be avoided but it can be ‘somewhat’ reduced by choosing an ultra-ultra-ultra unique email address. Phew, that’s a lot of ultras!
Emails received on the Yopmail will stay only for 8 days.
The emails will only be for a short period as compared to Gmail, yahoo.
Some of the internet-based services block disposable email addresses
In that case, you will not be able to use a disposable email address to signup for them. In this case, you can use an email address created through an additional domain to signup for such services.
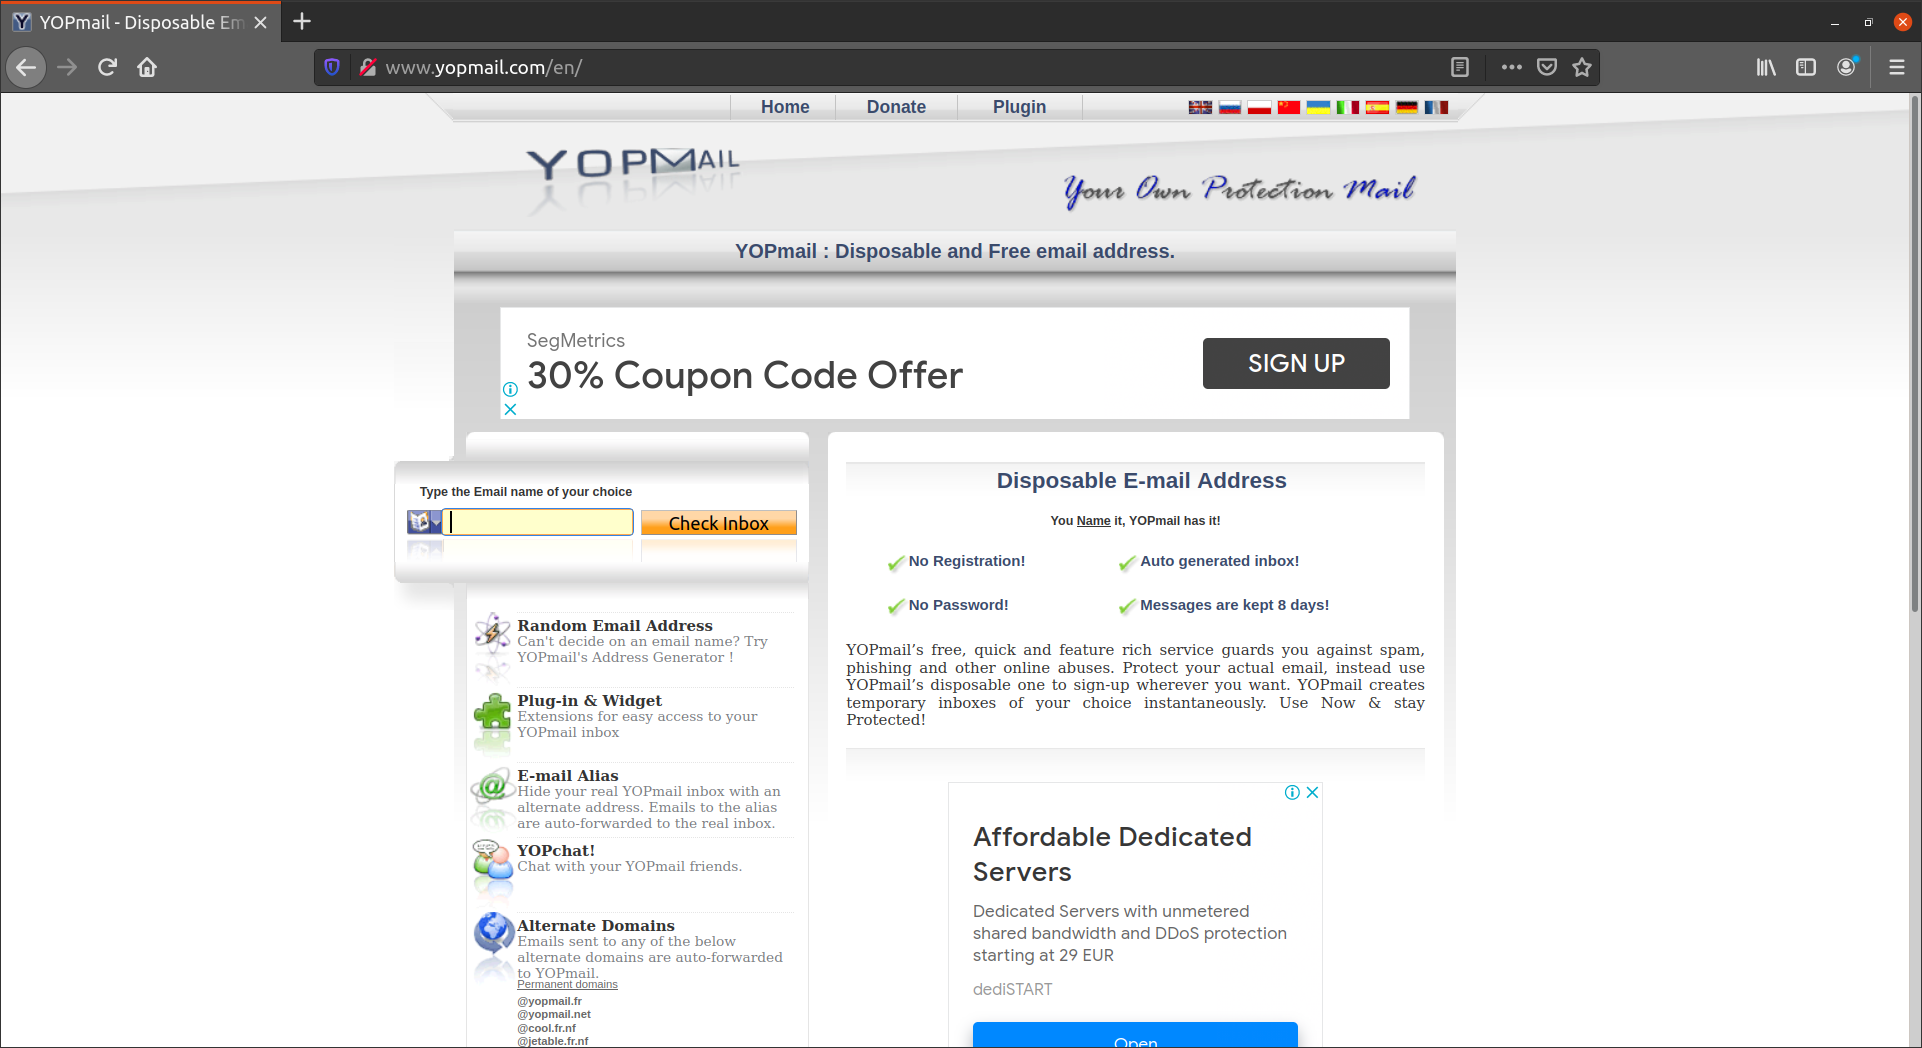
How to create a Yopmail?
Go to http://www.yopmail.com/en/
![Step 1, Home Page]()
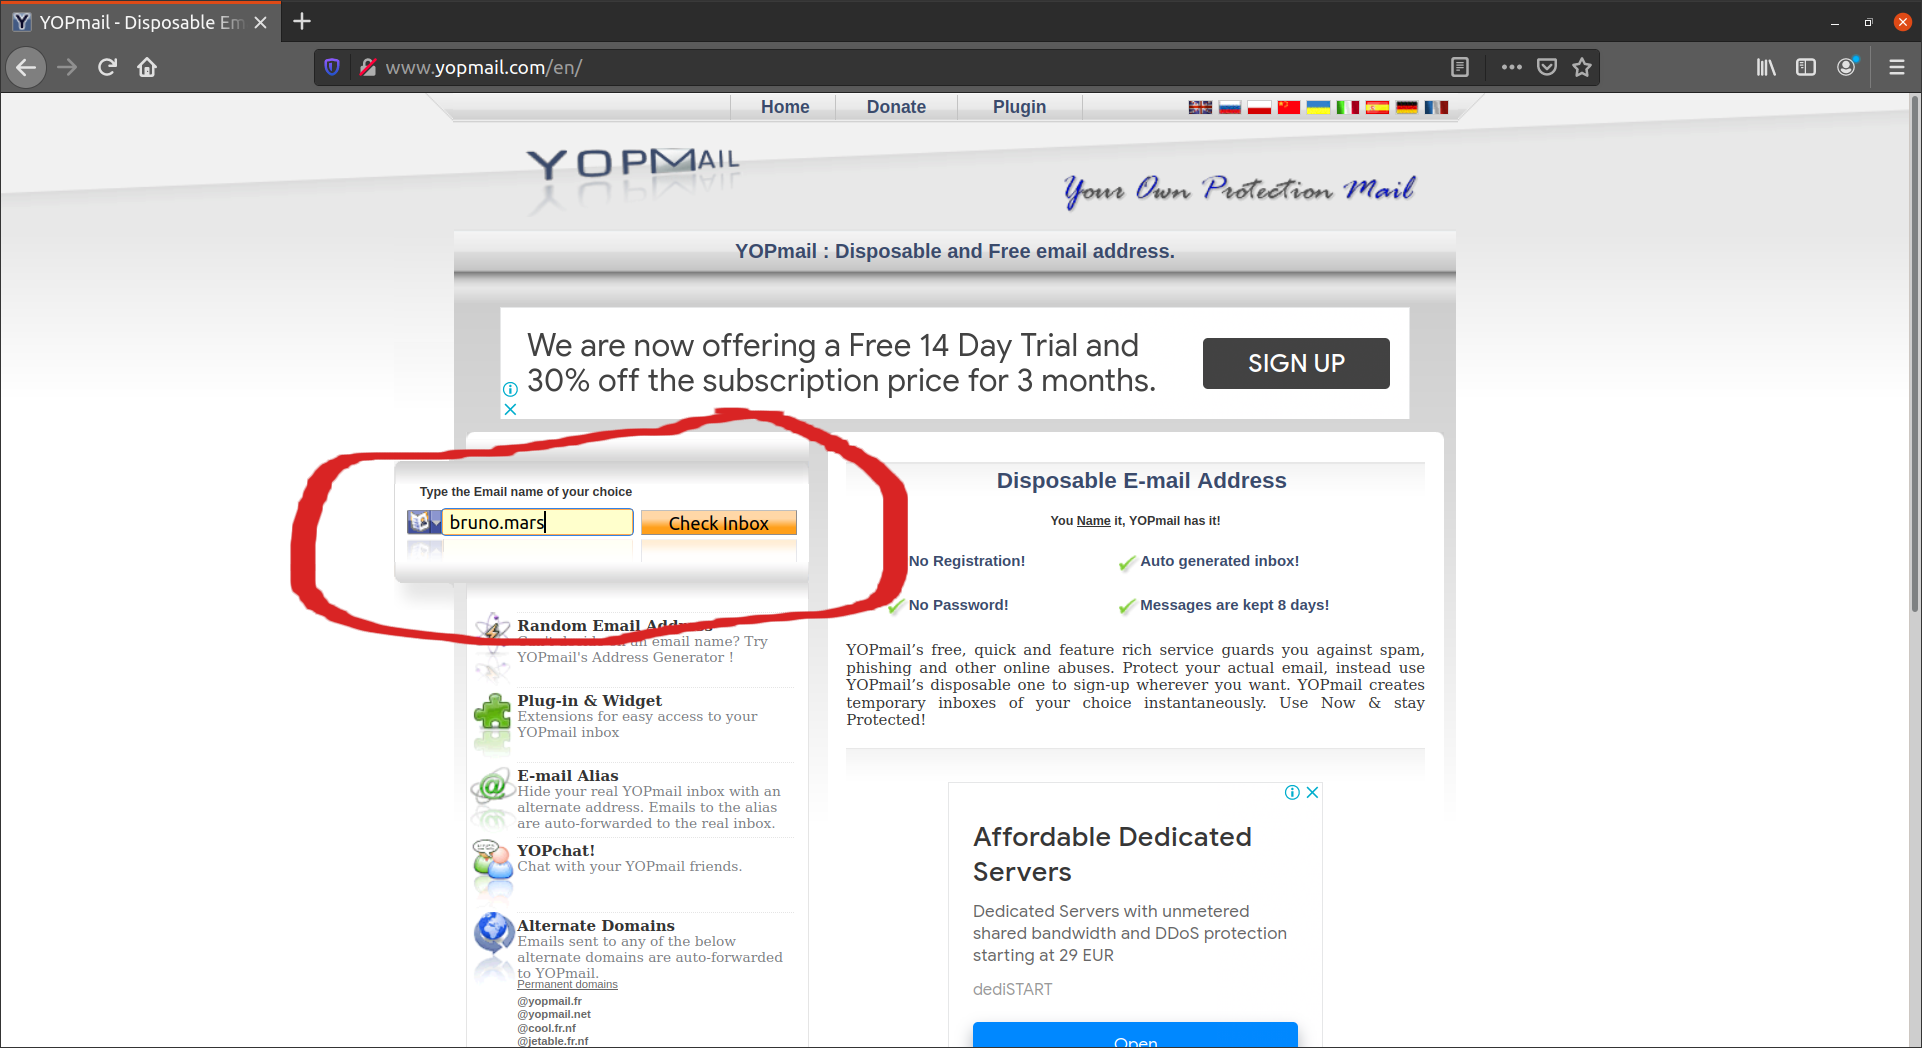
Enter any email address of your choice. However, I would recommend using an ultra-unique one otherwise you might end up wasting a lot of your time searching for that particular email!
![Step 2, Email Bar]()
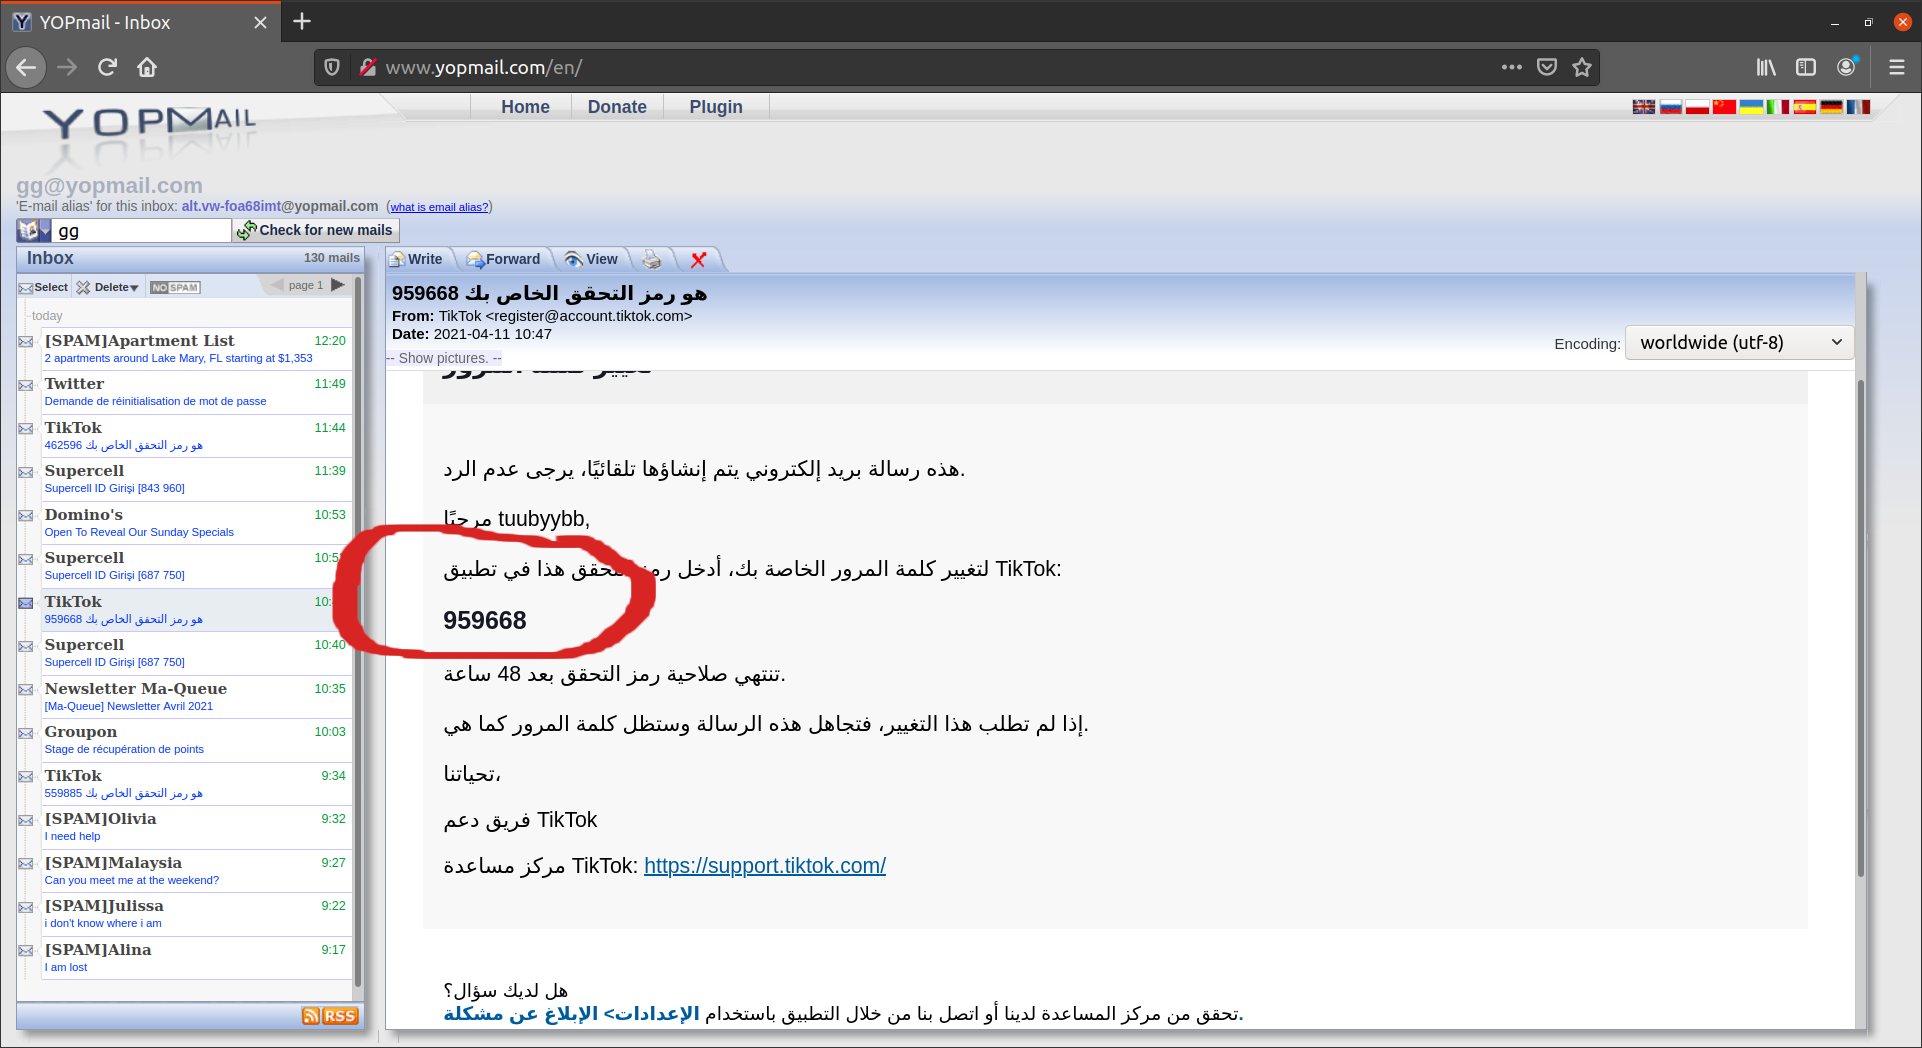
You shall find the messages that come to your inbox as shown below.
![Step 3, Inbox]()
References:
- Yopmail, http://www.yopmail.com/en/